As cryptocurrency adoption continues to grow, securing digital assets has become more important than ever. Unlike traditional financial systems, crypto puts full control in the hands of the user—which also means full responsibility. If you’ve chosen a Trezor hardware wallet, you’ve already taken a major step toward protecting your funds. Your setup journey begins at Trezor.io/start.
This comprehensive guide explains what Trezor.io/start is, how to use it, and how to safely set up and manage your Trezor wallet. Whether you’re new to crypto or upgrading your security, this article walks you through the entire process from start to finish.
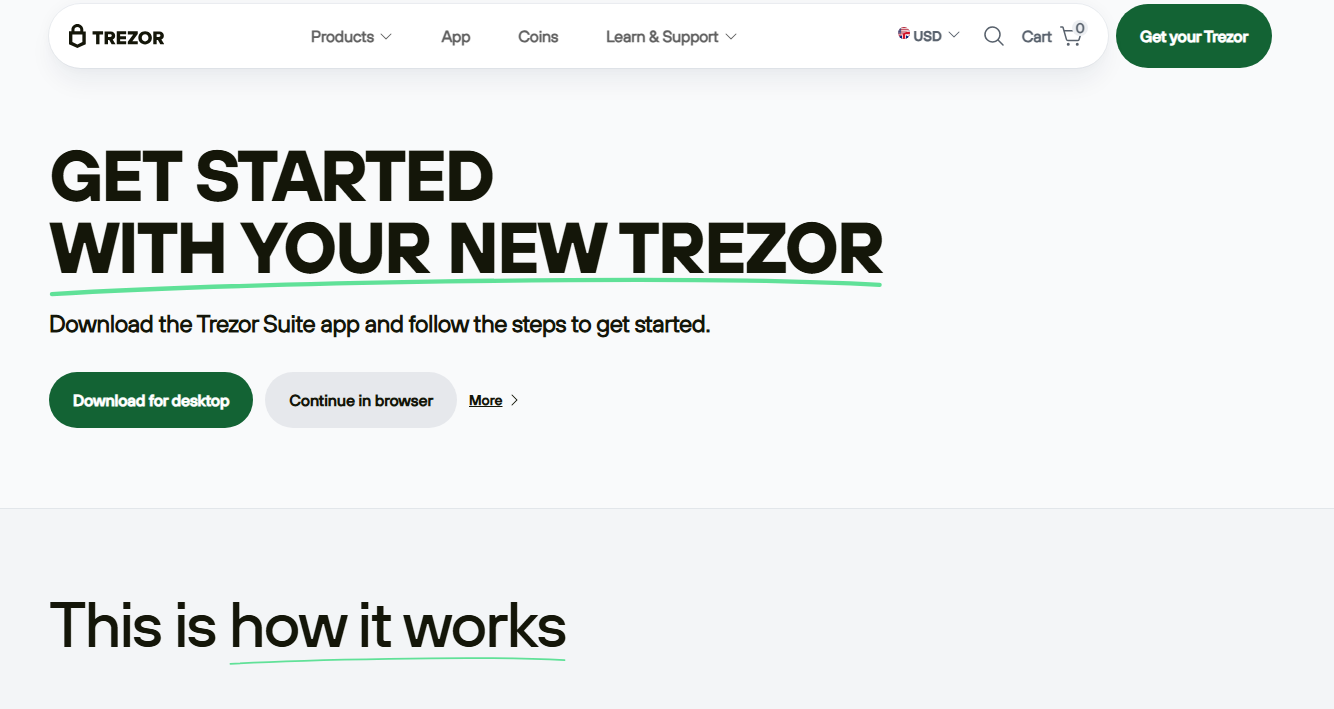
Trezor.io/start is the official onboarding page provided by Trezor for initializing and configuring its hardware wallets. It guides users through:
Using this page ensures that your wallet is set up safely, with genuine software and verified instructions directly from the manufacturer.
Trezor is one of the pioneers of hardware wallets and is widely trusted for its open-source approach and strong security model.
1. Offline Key Storage
Private keys are generated and stored on the device, never exposed to the internet.
2. Open-Source Transparency
Trezor’s firmware and software are publicly auditable, increasing trust and transparency.
3. Protection From Online Threats
Hardware wallets protect against malware, phishing attacks, and compromised computers.
4. Wide Asset Support
Trezor supports thousands of cryptocurrencies, including Bitcoin, Ethereum, Litecoin, and many ERC-20 tokens.
At Trezor.io/start, you’ll select your specific model to receive tailored setup instructions:
Choosing the correct device ensures a smooth and accurate setup process.
Open your browser and manually type Trezor.io/start. Avoid links from emails or ads to reduce the risk of phishing attacks.
Trezor Suite is the official software used to manage your wallet.
With Trezor Suite, you can:
Trezor Suite is available for:
Always download Trezor Suite directly from Trezor.io/start.
Once Trezor Suite is installed:
If your Trezor is brand new, it will not have firmware installed. Trezor Suite will guide you through:
This ensures the device hasn’t been tampered with.
Select “Create new wallet” when prompted. This process generates new private keys securely on your device.
Trezor offers different recovery backup options depending on the device:
Most users choose the standard recovery seed, which is simple and effective.
The recovery seed is a list of words generated by your Trezor device. It is the only way to recover your wallet if:
Anyone with access to this seed can control your funds.
Recommended practices:
Never:
Trezor will never ask for your recovery seed.
After backing up your wallet, you’ll create a PIN code. This adds an extra layer of security by preventing unauthorized physical access.
Trezor uses a randomized PIN entry system, protecting you even if your computer is compromised.
Advanced users can enable a passphrase, which adds another layer of security on top of the recovery seed.
Benefits of a passphrase:
⚠️ Important: If you forget your passphrase, the funds are permanently inaccessible.
Once setup is complete, you can begin adding accounts in Trezor Suite.
Steps:
You can manage multiple accounts for the same asset if needed.
To receive funds:
Always confirm addresses on the device screen.
To send crypto:
This physical confirmation prevents unauthorized transactions.
Trezor regularly releases firmware updates to:
Always update firmware through Trezor Suite. Never install firmware from third-party sources.
Crypto users are frequent targets of phishing attacks.
Remember:
If in doubt, stop and verify through official channels.
If your Trezor device is lost:
To recover:
Yes, it’s the official and recommended setup page.
Advanced users may use third-party wallets, but Trezor Suite is recommended for most users.
Yes, NFTs can be managed through supported networks and integrations.
Trezor does not charge fees; network fees are determined by the blockchain.
Trezor.io/start is the foundation of secure crypto ownership with a Trezor hardware wallet. By following the official setup process, users can confidently protect their digital assets from online threats, device loss, and unauthorized access.